coops18ZR2
-
Posts
38 -
Joined
-
Last visited
-
Days Won
2
Content Type
Profiles
Forums
Gallery
Blogs
Downloads
Events
Everything posted by coops18ZR2
-
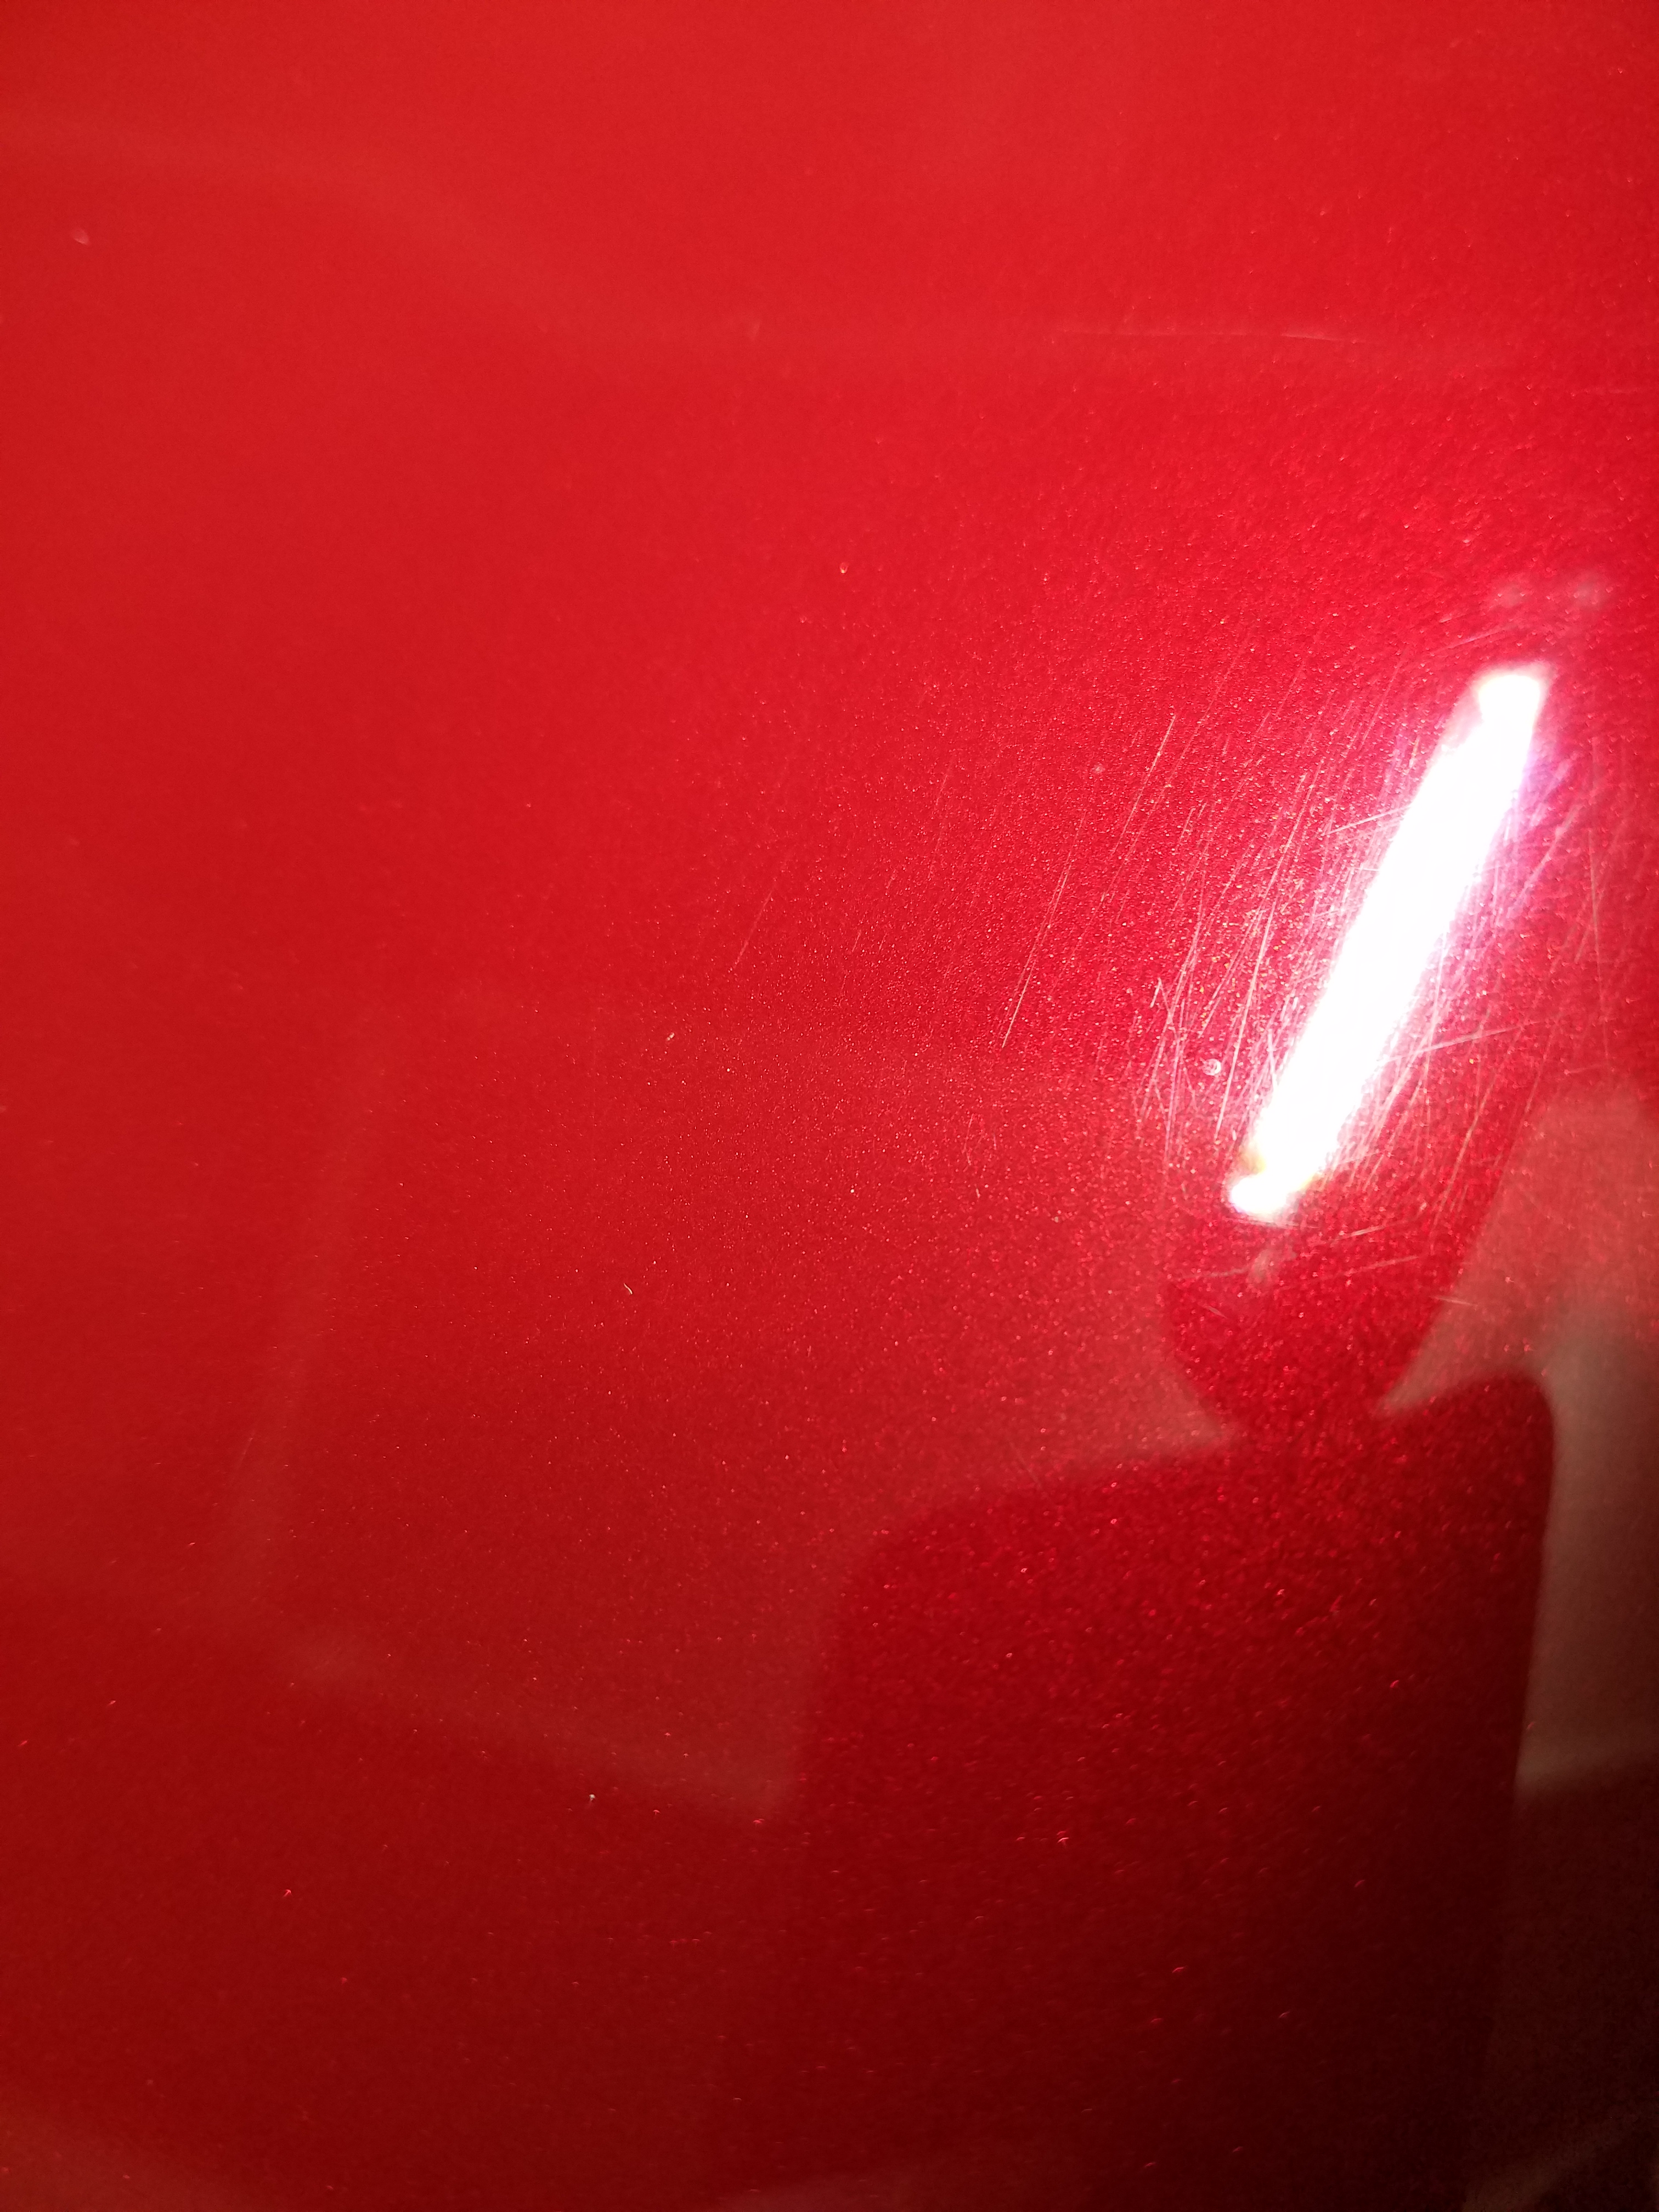
Water spots after ceramic coating and boost?
coops18ZR2 replied to coops18ZR2's question in Paint Correction & Polishing
It was roughly two weeks before the vehicle saw water/rain after the coating. My garage is climate controlled and kept between 50%-60% humidity and the temps are kept between 50-70 degrees year round. I have what you might call a man cave/second home lol! What really has me boggled with the water spots is on this vehicle the only thing I did the paint correction and coating on was the hood. The hood is the only place that has water spots, the rest of the vehicle which was washed and followed with H2O G&G looks great. It was my first time with paint correction and I wanted to focus on just the hood first. After the paint correction on the hood I used the coating prep spray and cleaned any residue that may be left from the correction and then applied the paint coating. I waited about 30 hrs before boosting the coating and the vehicle was kept inside the entire time and remained in the garage for about a week after. Here is the other kicker that is really making wonder. I fully corrected the paint on my new truck over Thanksgiving. Spent all of two days getting the finish as perfect as possible and then followed the same procedure from the vehicle with water spots, i.e. coating prep spray and then coated the entire truck. I waited about the same amount of time before boosting the truck and it turned out absolutely gorgeous!!! The truck is my daily driver and has seen rain a couple of times since the coating. Just washed it today and no spots at all and the thing looks just like I got done with the coating and boost, damn near perfect. The vehicle with the spots on the hood, I can rub them off but holy hell is it difficult!!! Maybe I didn't get something right with the coating on the vehicle with the spots. I followed the same process for my truck and it looks gorgeous still. Sorry for the long post, wanted to provide as much detail about the procedures I used. Thanks for the input thus far! Tony -
Water spots after ceramic coating and boost?
coops18ZR2 replied to coops18ZR2's question in Paint Correction & Polishing
It's been about a month just guessing off hand. I did a post about my first paint correction, just can't remember when I did it lol. -
Water spots after ceramic coating and boost?
coops18ZR2 posted a question in Paint Correction & Polishing
Hello all, been a little while since I've checked in. I wanted to ask a question in regard to water spots. The first car that I did a paint correction on turned out awesome! I then followed with the ceramic coating and ceramic boost, again, the results looked amazing! I just washed the vehicle and noticed water spots all over the place. While washing the vehicle I was amazed at the difference the coating made in how easily stuff came off and the water sheeting effect. Needless to say though, I am baffled and really scratching my head as to why I have water spots all over the place! I have soft water and used Adam's blue car shampoo with foam gun, washed in the shade and pulled into the garage to dry. The last thing I do before pulling a vehicle into the garage to dry is give the entire vehicle one last rinse to make sure all shampoo is removed and all the surfaces are wet. What, why, and how did I end up with water spots all over the place on this vehicle after doing the ceramic coating and boost??? Really bummed right now about the results! Thanks for any input and help on the matter! Tony -
Getting ready for first paint correction, any helpful pointers?
coops18ZR2 replied to coops18ZR2's question in Paint Correction & Polishing
Falcaineer, After I was done getting the finish looking purdy I applied Adam's ceramic coating to the area that I corrected. Waited about 28 hrs and came back out and applied the ceramic boost and ohhhh nelly does it shine!! Jabo_pf, The swirls and scratches were under the ceramic coating that the dealer applied. The dealership didn't really do any prep to the paint before applying their ceramic coating and it was pretty obvious. :-( Working through the dealer applied ceramic is what really had me baffled the first time I tried with the heavy correcting compound. Then I remembered about the ceramic coating they applied. Once I got through it though, things went like butter. Chris, Many thanks for the compliments. I was pretty damn happy and relieved when I got the hood done! Tony -
Getting ready for first paint correction, any helpful pointers?
coops18ZR2 replied to coops18ZR2's question in Paint Correction & Polishing
Thanks for the compliments folks, it is greatly appreciated! Once I got going with things and got into a groove I was really surprised and delighted at how easily the products worked. Personally I think it was a combo of great products and some damn good tips from you folks! As was mentioned, taking my time with things really seemed to be the order of the day and the sure fire ticket to success. Shane, you brought up a great point about giving the camera something to focus on with the tape. Certainly will employ that useful tip in the future when taking pics before and after. Again, many thanks folks for all the input on things! Tony -
Getting ready for first paint correction, any helpful pointers?
coops18ZR2 replied to coops18ZR2's question in Paint Correction & Polishing
Sorry for such a late response and update on things with my first attempt at paint correction. I was able to finally get started on this and give this a try, words can't even begin to describe how nervous I was to do this. I've heard sooo many horror stories of burning through paint. That alone has had me kinda finding excuses to put this off one more day lol. Well this morning I woke up and put my big kid pants on and set out to try as well as learn this process. My goal today was not to do a whole car, it was to focus on the hood, try different techniques, and learn the process in general. I started this morning by doing a strip wash on the entire vehicle, followed that by visco claying the entire vehicle, and then just to be anal I strip washed the car again. With the help of my sidekick blaster I got the car completely dry and got started. I pulled up the video yet again on the paint correction process and watched it one more time to build some confidence lol. I started small with just the correcting compound and the orange foam pad, it didn't really seem to do much. I stepped up to the heavy correcting compound and blue foam, this didn't do much. I was getting a little discouraged and then the light bulb went off, this car had a generic ceramic coating applied at the dealership. I moved to the microfiber cutting pad and the heavy correcting compound and worked slow constantly checking my work and progress to see what different sweep speeds did for me. I used speed setting 5 on the 15mm swirl killer initially and bumped up to 6. After getting into a groove with things I was starting to get it dialed in and things started progressing nicely. Once I got done with the microfiber cutting pad I moved to the blue foam and gave it another quicker pass. From there I moved to the orange foam and correcting compound and was REALLY starting to see some great results!!! Once I was satisfied with how things looked after the orange pad and correcting compound I decided to go for the gusto and use the finishing polish. The orange correcting compound and orange pad had the paint looking pretty damn good, especially considering how the paint looked before I started. After the polishing compound and white foam pad, all I can say is HOLY CRAP!!!! This hood looks amazing and I couldn't be happier with the results!!! The paint looks sooo smooth and clear and a foot deep, almost like you could stick your hand into it. I want to thank everyone who provided tips and input for my first time at paint correcting, I'm VERY happy with the results even though it's just the hood at this point!!! Here are some before and after pics to show off the results. The only bad thing with the pics is they really don't give you a true sense of just how fugly the paint was prior. Again, thank you all for your help, tips, and input!!! Tony


-
Getting ready for first paint correction, any helpful pointers?
coops18ZR2 replied to coops18ZR2's question in Paint Correction & Polishing
Folks, Many thanks for all the input and tips, it is greatly appreciated!!!! I'm definitely not gonna be in a rush to do this! My goal for the first time out is to work on a hood and follow the videos by starting small and working up, i.e. correcting polish and then if needed heavy correcting compound. I want to get a feel for what each product can and can't do. This will be my main focus for the hood and I'm not setting any time table to complete it. One benefit with the vehicle I will be working on is that most of the panels are pretty much flat with minimal sharp edges or hard body lines. Hoping this will really help me get a feel for the swirl killer and at the same time help me get the technique down. Again, many thanks for all the input folks, really appreciate the help from fellow members of the car detailing support group!! :-) Tony -
Getting ready for first paint correction, any helpful pointers?
coops18ZR2 replied to coops18ZR2's question in Paint Correction & Polishing
Many thanks folks for the replies and tips! I'm certainly not looking to do a whole car my first day out. I'd much rather spend the time and find the process that works best. I plan on taping the hood into 4 quadrants and trying each of the three products, starting with the least aggressive just so I can get a feel for how the polish and swirl killer work. Falcaineer, great tip about putting VRT on the trim to make polish and clay residue removal much easier, I didn't even think about that. Liralen, That was a great tip you shared about the Crisco shortening and the creamy peanut butter! I will have to put those in the memory bank juuust in case I ever run into that problem. Again, many thanks for the input and replies folks! Tony -
Well, my 15mm LT swirl killer should be here this Thurs. I'm eager to give this a shot and learn how to do it. I have a couple of questions to ask about the proper process for this and also open to any pointers you all may have. My first question, is doing a strip wash needed prior to paint correction? I was thinking of washing the vehicle with the car shampoo and foam cannon followed by visco clay using detail spray, then washing again but drying without any detail spray or H2O G&G. From here I was thinking I should be ready to start correcting the paint, are there any steps I'm missing before starting the paint correction? My plan after the paint correction is to immediately do ceramic coating on the paint. Would I need to wash the vehicle again after the correction or will the coating prep be all that is needed prior to applying the ceramic coating? I've watched the videos on doing the paint correction and removing swirls, it looks fairly easy but I want to start slow and work my way up on things instead of go for the gusto right off the bat and royally screw up the paint. With the correction itself, I was planning on taping off an area like in the videos and start with the correcting polish and see how that does. The hood on the vehicle I will be "learning" on is pretty filled with swirl marks. When it comes to the amount of pressure applied to the swirl killer, what would be a good reference point weight wise to compare to? Thanks for any help and/or pointers that you may be able to provide! I'll try and get some pics of the hood before and after. Hoping the camera can pick the swirls up. Tony
-
Thank you Adam's products!!!!
coops18ZR2 replied to coops18ZR2's question in Washing, Drying, and Decontamination
Many thanks for the compliments folks! This was my second wash of the truck and took things a little further on the outside using VRT and the Tire Shine. After using the H2O G&G on the first wash it sure made washing the truck this second time super easy! ScatPackTwister2017, The truck actually is new, just under 400 miles on her so far but the Adam's products as always make it look sooo much better. On the nerfs, they are a fairly nice factory powder coat. I used the H2O G&G on them followed by Detail Spray and it has them looking great. Another benefit is nothing really wants to stick to them now. -
MyRedCharger08, At the bottom right of the reply window there is the option called More Reply Options, click on that and scroll down a little. Now at the bottom left there will be a tab for attaching files. Click on Browse to select files from your computer and then click Attach This File. This should post up pics for you. Hope that helps. Tony
-
I'll let the pics do the majority of the talking here, they don't even do it justice. This truck is simply gorgeous in person!!!! Tony


-
Alright Falcaineer, here is my proof the interior cleaning event actually happened lol. The pictures really don't do it justice for just how nice this turned out on the inside! You also brought up a great point about using the Leather & Interior cleaner! That is the product I actually used and not just interior cleaner, I noticed that after I read back through my post. MyRedCharger08, It might be worth giving the SVRT a try on the vinyl and plastic door panels. You can use a microfiber towel to knock down some of the shine if it is to much for your liking. I've used this in the past on interior hard plastics and loved how it looked and it lasted for a good long time before needing touched up. Hope that helps! Tony


-
I did my first detail on my new truck about a week and a half ago. I used Adam's interior cleaner on everything even though it was a brand new truck. I was amazed at how much cleaner the interior looked just after using the cleaner, again, this is a brand new truck with less than 400 miles on it. After cleaning the entire interior I used Adam's leather conditioner on the seats, dash, and door panels just as the video shows and the results are nothing short of amazing!!! Just at a week and a half now since doing the interior the nice new leather smell is still there and all the door panels and dash look amazing! The key may be using the Adam's interior cleaner prior to applying the leather conditioner and letting it dry as mentioned in order to avoid any streaking or product coming off. As a comparison I did the same with my mom's 2014 vehicle and got the same results. I will add that the interior on her car needed a good amount of elbow grease to get completely clean but the end results have been the same thus far. Doing her car was kind of a test for me and Adam's products to get a true sense of the effectiveness and ability of the product. I was and still am truly impressed at how well everything worked and the transformation on the interior of her car!!! It might suck going back over everything but it might be worth a shot. With the interior cleaner, it works pretty damn easy so that should help. Maybe give it a shot cleaning the interior with Adam's interior cleaner and then go back over everything with the leather conditioner and let it sit overnight and see if the results improve? Hope that feedback helps a little in your quest for that great looking, smelling, and feeling interior!! Tony
-
Washing different towels together?
coops18ZR2 replied to coops18ZR2's question in Towels, Brushes, & Accessories
Pirahnah3, thanks for the break down on towels that's pretty much how I look at things when it comes to the towels and how I break them down into category. Falcaineer, many thanks for posting the link, I pinned that to my internet toolbar menu for quick reference in the future. That was a good read with a lot of useful info! Thanks everyone for the responses and info! I cleaned out the washer and dryer followed by a couple extra rinse cycles on the washer to make sure it was clean. From there I did my first actual washes using the Microfiber Revitalizer and dryed the towels on low heat for one cycle and then followed with a couple air fluff cycles to get them completely dry. I did all the towels used for washing and drying in one load and the towels used for H2O G&G in a different load The end result was great, the towels came out looking and feeling like new again. Next up is my utility towels used on wheels and such followed by applicator pads. Again, many thanks to everyone for their responses and suggestions........it has provided a great deal of help and knowledge! Tony -
Washing different towels together?
coops18ZR2 replied to coops18ZR2's question in Towels, Brushes, & Accessories
Great info so far folks, thanks for the ideas and processes you use to care for your towels! Tony -
Washing different towels together?
coops18ZR2 replied to coops18ZR2's question in Towels, Brushes, & Accessories
Beemer, Thanks for the tip. The towels I use for the H2O G&G are ones that I was wondering about. My initial thinking is that it would be ok to wash all of the white polishing and microfiber towels together and do the ones used for sealant/wax application separate. I wasn't sure on what folks are doing and any other recommendations so I wanted to ask before I did something stupid and ruin a bunch of nice towels!! Tony -
Ready for first wash of new truck, couple questions
coops18ZR2 replied to coops18ZR2's question in Washing, Drying, and Decontamination
dbeckC7, Thanks for the compliments on the truck. Hoping to have it fully ceramic coated in the next month. Not driving it much until I get the coating on and of course more pics lol. Thanks again to everyone for the responses! Tony -
Hello all, This question may have been asked already but in reading through different posts for the last 20 min I haven't found the answer yet. I'm gonna be washing all my towels for the first time and was wondering if it is ok/recommended to wash them all together, i.e. borderless grey plush towel with double soft polishing towel, green glass cleaning towel, GWDT, Adam's ultra plush microfiber drying towel, pretty much any of the Adams towels? Or, should the different styles and types be washed separately? I will do a full clean cycle on my washing machine and then do another rinse cycle to make sure the bleach is evac'd from the washer and I will also completely clean out my dryer as well before putting any of these towels in there. I will be using Adam's microfiber revitalizer & brightener to wash all my towels. Any advice and tips on a good sound process are welcome! Thank you in advance for any help you can provide. Tony
-
Glass sealant on GM plastic headlight lense?
coops18ZR2 replied to coops18ZR2's question in Exterior Protection & Enhancement
Mbrazelton, Glad to hear from another member who likes the paint sealant on the headlight lenses. It's one of those areas that I've always wondered about the best way to help keep them clean and clear. Tony -
Black Bowtie, That was one heck of a game to watch! Doesn't matter who you were rooting for, just a great nail biter of a game. Tony
-
Falcaineer, thank you for the welcome to the Adam's forum. Been doing a lot of reading and learning at the same time. Sooo much great info on the forum about taking care of our rides and keeping them looking amazing. Mbrazelton, now THAT is serious dedication to the family trading in your ZL1 for a Silverado!!! I tip my hat to you and salute you for being a great family man!!! I can understand about where you live kinda determining what sports team you "should" root for lol. No worries, I'm not a win or die fanatic lol. Really do enjoy great rivalries games like Bears vs Packers, Cub vs Cards, Hawks vs Cyclones, makes for some great games to watch!
-
Mbrazelton, My condolences on the Cyclone country living...........J/K! That was probably one of the best rivalry games I've seen. Certainly one of the best that I can think of between the Hawks and Cyclones!!! That's one of those games it doesn't matter if you're a Hawk fan or a Cyclone fan, it's almost always a great game. Tony
-
Glass sealant on GM plastic headlight lense?
coops18ZR2 replied to coops18ZR2's question in Exterior Protection & Enhancement
Dan, Thanks for such a quick reply!!! Also, thanks for the pointers about using the paint sealant on the headlight lenses, I hadn't thought about that. I wasn't sure if it was needed or necessary to apply the glass sealant with the H2O GG on the headlights already. Thanks for answering the question Dan. Have a great day! Tony -
Ready for first wash of new truck, couple questions
coops18ZR2 replied to coops18ZR2's question in Washing, Drying, and Decontamination
Gabhart, I know something needs to be done with the tires, they look kinda fugly compared to the rest of the truck. I don't have any tire shine right yet, I may use SVRT to tide me over until I get some tire shine. By the way, gorgeous looking Camaro in your avatar pic!!! Tony