Yo-Yo Ma's Cousin
-
Posts
687 -
Joined
-
Last visited
-
Days Won
12
Content Type
Profiles
Forums
Gallery
Blogs
Downloads
Events
Everything posted by Yo-Yo Ma's Cousin
-

Foam Cannon Troubleshooting
Yo-Yo Ma's Cousin replied to GFD70 SS's question in Washing, Drying, and Decontamination
I use a Ryobi pressure washer with a much worse than MTM foam canon. My first question is was your first squeeze with your pressure washer with the foam canon? What I mean is I normally put a regular nozzle on the gun and hold down the trigger for 30 seconds to a minute before I do anything with the pressure washer. Also how long is your hose? I noticed when I upgraded my hose, the pressure took longer to reach the gun. -
time piece
-
Interior Scuffs
Yo-Yo Ma's Cousin replied to Carter Bowen's question in General Detailing Discussion and Questions
I get nervous applying chemicals indoors that have the California Warning on them. I think both VRT and CSC have that warning on them. Would you happen to know anything about that? -
Interior Scuffs
Yo-Yo Ma's Cousin replied to Carter Bowen's question in General Detailing Discussion and Questions
^ Yes Interior Cleaning Gel is awesome. If you don't have an eraser, I've had pretty good luck with a utility microfiber towel for marks of about this caliber. That door sill looks pretty similar to mine. In terms of protection. I'm not so sure, I've been doing the same thing you have with LC. I've been wondering if this is a spot where VRT can do it's thing. I have not tried it yet. If you do try it, be aware that VRT may make this surface slick, so be careful about injury. -
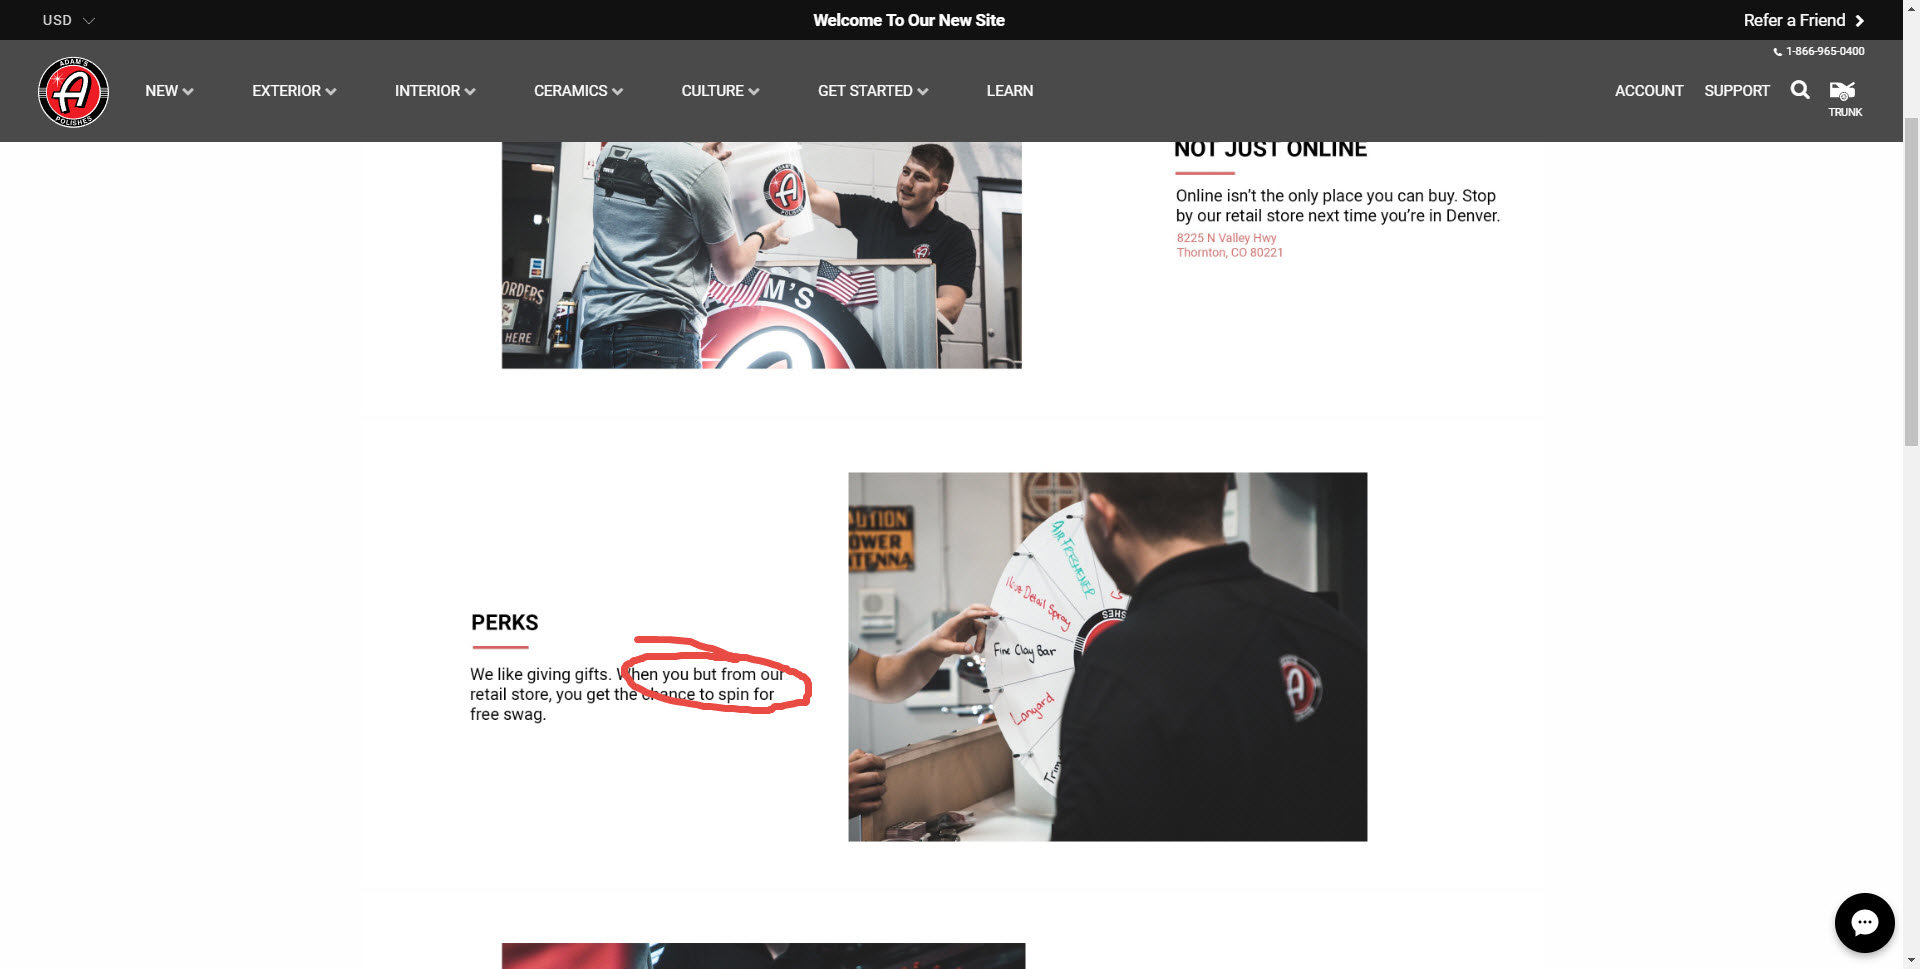
New Site, Take a Look and Save!
Yo-Yo Ma's Cousin replied to Team Adam's's topic in Company Info/Announcements
Sweet that’s fun. Really hoping for a cordless sk mb. I know it’s probably premature, but I’d not miss out on that one. -
New Site, Take a Look and Save!
Yo-Yo Ma's Cousin replied to Team Adam's's topic in Company Info/Announcements
Is anybody else seeing these mystery boxes?? They all are "sold out"
-
New to this looking for advice
Yo-Yo Ma's Cousin replied to Tanner2297's topic in New Member Check-In
Congrats man! I think You'll be happy about that! -
Rotates around
-
You're welcome. I enjoyed it! If you have the time and money, I say you should go for it. I don't think you'll be disappointed with your results. Adams has many detailed videos about polishing, so take a look at some of those like @tlbullet mentioned. and get to know the purpose of each of the pads and polishes. From there you can probably decide if you're ready for polishing. If you don't have many defects in your paint, It's likely that you could stick to the Orange Correcting Polish with an Orange Pad and/or the White Finishing Polish with a white pad.
-
Ceramic Boost Streaks - How To Remove
Yo-Yo Ma's Cousin replied to ctdw's question in Exterior Protection & Enhancement
I second that- it makes a huge difference. -
Ceramic Boost Streaks - How To Remove
Yo-Yo Ma's Cousin replied to ctdw's question in Exterior Protection & Enhancement
Pour some water on the surface and see how it reacts. If it it’s beading and shedding water, I would say you’re good and can hold off 4-6 weeks before you use ceramic boost again. Im so glad the brilliant glaze worked! Also it’s a very cool product even when you don’t have ceramic boost problems! -
Ceramic boost use on glass
Yo-Yo Ma's Cousin replied to S.S's question in Exterior Protection & Enhancement
So the old version of CB was not safe on glass. You have the new version ceramic Boost 2.0 and it is safe on glss as specified on the bottle. its a great product, my only advice is that a little product will go a long way. -
New to this looking for advice
Yo-Yo Ma's Cousin replied to Tanner2297's topic in New Member Check-In
That's really unfortunate. I have had very good luck with my orders. There have been a few times where something was missing and they were very quick to respond and fix the issue for me. Try emailing them at orders@adamspolishes.com , they might be able to help -
Ceramic Boost Streaks - How To Remove
Yo-Yo Ma's Cousin replied to ctdw's question in Exterior Protection & Enhancement
Can we see some pictures? It is likely that you used too much product, or that your towels may have become too saturated. Some people mention applying brilliant glaze to remove high spots. I have not had much luck, but that's probably the least aggressive thing you could do. Or try using some Ceramic Waterless Wash. I've had some luck with that. -
Official Beading Photo Thread
Yo-Yo Ma's Cousin replied to bigred vette's question in General Detailing Discussion and Questions
Yesterday before work, I came outside to these: Then, when I came home from work, this was my wife’s car:


-
New to this looking for advice
Yo-Yo Ma's Cousin replied to Tanner2297's topic in New Member Check-In
welcome Tanner! you have a good arsenal there! i would say you should definitely try and use that ceramic spray coating! It’s mind blowing! Make sure you take the proper steps to prep before applying the coating. I see you have plenty of eco wheel cleaner, once you start to run out of that, I would suggest looking at the regular wheel cleaner. That is, unless you have delicate wheels, then stick to the eco! -
New Site, Take a Look and Save!
Yo-Yo Ma's Cousin replied to Team Adam's's topic in Company Info/Announcements
Use code new on the NEW site And the first 1000 orders will get 25% off your order! -
New Site, Take a Look and Save!
Yo-Yo Ma's Cousin replied to Team Adam's's topic in Company Info/Announcements
I know someone who got an email saying the new site is open but I still haven’t received it -
Sorry for the wait. Here I'll tell you my process. I'm sure some others on this discussion may have some different input or suggestions to better this process, so please be open to those suggestions too. So total time I spent working hands on was around 4 hours. I'll try to give you the products I used (with links) and reasons for each step I took. This can become repetitive and tedious at times, but I'm doing so because I believe that I'm reducing the chances of damaging my paint. I think I would follow this process even if I chose to use a different type of protection, but it's pretty important to take preparation steps for a ceramic coating as @falcaineer mentioned. 1. Cleaned tires, wheels, wheel wells, and exhaust tip - I always start with this step so as to not put water on paint. If I don't put water on the paint, then the water won't dry and it reduces the chances of water spots. I go one wheel at a time rinsing my tools in between. I make sure to have all my tools and chemicals prepared before putting water on the vehicle. What I mean by that is I have a bucket full of water and a little bit of CS, and I put all of my tools in the bucket. I start by spraying water all over the wheel, tire, and wheel well. Then spray some diluted APC into the wheel wells (I use APC because the majority of my wheel wells are carpet not rubber or plastic), then I take my Fender Brush (one of my favorites) and I brush the entirety of the wheel well. Then I rinse the wheel well. I follow that by spraying TRC onto the tire face and tread block, and use a Tire Brush to clean. In this step, the tires start to turn orange/brown which shows that the tires are dirty. I repeat this step until the chemical no longer turns brown but appears white. Then I spray WC into the wheel barrel, rotors, and wheel face. You'll see the spray starting to turn red/purple, this means the chemical is reacting with and breaking down the iron/metallic particles that contaminate the wheel from brake dust and other grime from the road. I use a wheel brush to agitate the chemical, I actually like to use the Lug Nut brush to agitate the rotors and get in the lug nuts, and I also think it's a good option to use for the face of the wheel. Then I would either use a wheel woolie or a barrel brush to get the wheel barrel and the back of the spokes. Then I would make sure to rinse the tire, wheel, and wheel wells thoroughly. and to avoid scratching the wheels, I try to rinse my tools after I use them before I put them back in the bucket. Then I repeat for each wheel. For the exhaust tips, I basically just spray APC into the exhaust and use the wheel woolie or barrel brush to agitate, then rinse it all out. Chemicals used Wheel Cleaner (WC) Tire and Rubber Cleaner (TRC) All Purpose Cleaner, Diluted 1:1 with water (APC) Car Shampoo (CS) Tools used Tire Brush Fender Brush Wheel Woolie or Wheel Barrel Brush Lug Nut Brush Here's Adams Process: 2. Wash Car with Strip Wash - This step is to not only clean the vehicle exterior, the strip wash is also trying to break down any protection (wax, sealant, etc.) you have on your vehicle. This can sound like a bad thing, but just keep in mind, later in this process we will be adding protection back to the paint, and likely a much better protection. We want to remove any existing protection, because we want the paint to be "naked." This will allow the coating to properly bond with the paint/clear coat. Start by having everything prepared before putting any water on the paint, once again we want to reduce the chance of water spots especially on your beautiful black vehicles. Preferably you would use a two bucket wash method, in addition I love to use a pressure washer and foam cannon. If using a pressure washer and foam cannon, put about 4-5 oz of strip wash in the foam cannon bottle, and I like to use 2-3oz of APC as well, I have seen in the past how APC is such a good degreaser that it will break down sealants and waxes. The problem there is if it dries on the paint, it can cause damage. So I was very careful about using APC. I start by rinsing the vehicle first, with only water, them immediately (since I am prepared) I attach my foam cannon and cover the vehicle in the strip wash/APC solution. I let that dwell for maybe 2 minutes. If you're not using a foam cannon you can start here by having two buckets filled with water and grit guards. One has only clean water and a grit guard, the other has your soap solution of 3-4 oz of strip wash, and here I also like to add 2-3 oz of APC again. My wash mitt(s) go in the soap solution until after I have initially rinsed the vehicle. Once I have rinsed I grab my wash mitt and go from the top of the vehicle to the bottom. I am always aware of what's on my mitt, and if I picked up dirt or sticks or whatever, I make sure to get it off by either picking it out, using the pressure washer to clean it off, and putting my mitt in the bucket with only water and rubbing against the grit guard to clean the mitt before dunking back into the soap bucket. Try to keep the vehicle wet and lubricated by squeezing your mitt to release water/soap, until you finish cleaning the vehicle, and then immediately rinse thoroughly. If you need to take a break or if you aren't prepared for step 3, I would dry. (I wasn't prepared so I dried) if you have the option to dry with air, that's a good option, if not use a microfiber towel with no drying aid, meaning don't use Detail Spray or anything just use the towel. If you can go straight into step 3, do that you will dry the vehicle after that! Chemicals used Strip Wash All Purpose Cleaner (APC) Tools used 2 Buckets Grit Guards Wash Mitt or Sponge, etc Microfiber Drying Towel 3. Chemical and Clay Decontamination- Every vehicle has contamination on it, even new ones. In this step you will be removing contamination that has been stuck in the clear coat. This step can look very different depending on who you talk to. Some people like to do this step during the wash, I'm not sure if there's a "right way", but this is how I did it following the wash and dry: I start by spraying down the vehicle (depending on the weather and if you're doing this indoor or out door you may want to go panel by panel) with IR (or you can use a diluted WC), This acts just like WC in that it's reaction with iron and metallic contamination turns red/purple. It may be hard to see on black. I didn't see it on my dark grey paint, but I could see it dripping purple on the concrete when I was washing it off... Anyways I sprayed the whole vehicle, then let it sit for 1-2 minutes. The weather was cloudy and like 50ºF. Then I rinsed it all off. Then I used a clay lube and used a clay bar to remove other contaminants that are stuck in the clear coat. I normally use very careful, very light pressure (since clay is an abrasive) and never ever do it dry. Always make sure the surface is lubricated. Do this for all the wheels, paint, glass, chrome, or anything that shines, I don't use it for my trim peices. You will see and feel your clay bar start to pick up little specs of contamination. Periodically keep an eye on how much contamination is on the clay bar, and you may need to bend/reshape the clay in order to get a clean surface before continuing. Important note: you never want to drop this on the ground. It will pick up rocks and stuff that can drag some nice scratches in your paint. That goes for microfiber towels and wash mitts too. They love to grab stuff so be careful never to put them on the ground. I like to rinse and dry once I'm done with the clay, others don't think its a necessary step. Chemicals used Iron Remover (IR) or Wheel Cleaner, diluted (WC) Clay Lube (Diluted Rinseless Wash, Diluted Car Shampoo, Detail Spray... for the Ceramic Coating prep any of these would work, but I would lean more towards the diluted car shampoo as you won't be leaving any polymers or anything on the paint) Tools Used Clay Bar of Choice (I used and Liked Visco Elastic Clay, People with large vehicles love the Clay Mitt, I think the most mild clay that would do the least amount of damage would be the Fine Clay Bar) 4. Polishing- Get indoors if you can at this point. This step is important to get your paint as perfect as possible. This is highly recommended and I recommend it. Once you apply the coating any defects your paint may have will now be sealed under the coating. My vehicle was relatively new, and I didn't have many defects to my paint, so I skipped the polishing step. Looking back, I would have done a polish even if just a RHP. Polishing will make a difference. Although I didn't do it, I would recommend you at least do a polish with the finishing polish with the white pad at this step. RHP with a blue hex grip pad (or white pad if using a machine) would be the last thing I would do before moving on. The polishing step is pretty heavily subjective depending on your preferences and your specific paint, so please feel free to ask me any questions you have about this, and I can try to answer them or point you to some help. But since I don't know the specifics, it's hard for me to direct you on here. Looking back, I would have done a polish even if just a RHP. Polishing will make a difference. Although I didn't do it, I would recommend you at least do a polish with the finishing polish with the white pad at this step. Also, The OSP with the One Step Pads look awesome and I'm excited to try them out. RHP with a blue hex grip pad (or white pad if using a machine), and remove with a microfiber towel, would be the last thing I would do before moving on. Also Work in very small sections at a time... Like 2 x 2 small. Chemicals mentioned Revive Hand Polish (RHP) One Step Polish (OSP) Finishing Polish Tools mentioned Polisher (if you don't have one, it looks like Adams in the future may be introducing a rental program for polishers) One Step Pads White Pad Blue hex grip pad Single-soft Microfiber Towel, or Double-soft Microfiber Towel 5. Surface Prep- This is crucial to the process. To fully clean the surface and remove an polishing oils or leftover wax that may be lingering. Us Adam's SP or a solution of Isopropyl Alcohol to spray down the paint and wipe with a Single-soft Microfiber Towel, or if you prefer, spray on the towel and wipe the surface. Do this for the glass and all the paint and the lights, and chrome and wheels. On the rubber trim pieces, possibly on your truck bed liner, I would use TRC with a Microfiber Utility Towel to clean those peices. I am not sure for the bed liner, maybe somebody else has a better idea for that. but then once all of this is cleaned, you're ready to move onto the coating stage. Chemicals used Surface Prep (SP) or IPA solution Tire and Rubber Cleaner (TRC) Tools used Single-soft Microfiber Towel Microfiber Utility Towel 6. Protection- Do this in the garage. This is the step to apply your protection. Whether that be Wax, Sealant, or Ceramic Coating. For the CSC, you will want to have that prepared with a few clean towels for the "removal" or "leveling" of the coating. I only used a competitors towels that I had gotten for cheap because I love Adam's towels and I don't want to throw them away if I use them for a Ceramic Coating. But that was before Adam's came out with their new ceramics line and added the suede removal towels and before I had thought about using a Microfiber Applicator as the application media. So I had two towels one for applying and one for leveling. Next time, I will use the Microfiber Applicator and a Suede Removal towel. Wear gloves. Spray the CSC a few times directly into the Microfiber Applicator. Using a cross hatch pattern apply to a small section (2x2). The cross hatch pattern is just to ensure coverage. Then wait 30 - 90 seconds until you see the surface start to flash (it turns rainbow and looks like oil on water) - make sure you have good lighting. Then use the suede removal towel to lvel the product. Basically you just gently wipe until the surface is glossy. It's important that you go over the paint where you've applied the coating. If you don't or if you miss any spots you'll get something called "high spots" on the paint which can look like streaks or build up of product. Look up some pictures of high spots on the forums. Those are no fun, you'll likely have to polish out the coating and reapply. So just be aware and diligent. That's where working in small sections can really really help. So continue moving around the vehicle like this. Make sure you get your glass, chrome, lights, and trim. The CSC is pretty much safe on all exterior surfaces. @falcaineer mentioned that on trim, you don't need to go over the second time since it will self level there. When I did it, I did go over it a second time. Next time I will try doing it without. I did not use CSC on my wheels, but you may choose do and just follow the same procedure. Once you've finished coating the vehicle, it's time to wait and let it cure. CSC needs 4 hours minimum. I left mine over night. You'll notice a huge difference in gloss. It's really special to see the results of your hard work. Chemicals used Ceramic Spray Coating (CSC) Tools used Microfiber Applicator Suede Removal Towels Gloves Make sure you throw away any towel or applicator you used for the Coating. The SiO2 will dry in the medium and essentially become shards of glass that will scratch your paint if you ever put them back on the surface. 7. Boost- After you've let the coating fully cure, this is the time to add CB if you choose to. Use less product than you think. Go one panel at a time.You would just spray the CB onto the surface and wipe with a microfiber towel, double-soft works well. Then flip the towel over (or use a second clean and dry one) and wipe until it's shiny. CB (or anything with SiO2) can also be the culprit of High Spots, so just be aware of that. I always give a second wipe down to any SiO2 product I use. If at any point you see that it's getting streaky and your dry side of the towel is no longer leading to a shine, it's time to flip the towel to a new side or get a new clean and dry towel. A good way of using microfiber towels is to have them folded into quarters, and then you have 8 total sides of a towel to switch to if one gets dirty or saturated. This goes for pretty much any time you want to use one, not just for the CB. This is the point where I got my wheels. Make sure to get your wheels! This is also when I used my tire shine or tire armor. Chemicals used Ceramic Boost (CB) Tools used Double-soft Microfiber Towel This is a great video I have found where Adam goes into pretty good detail for a lot of these steps. He does some things that I didn't do. For example he applies glass sealant and paint sealant. We don't want those because our CSC will act as the protection for both the glass and the paint. So his goal at the end of this video is different than the things we are trying to acheive, but he still takes the time to explain in detail the steps. SO it's a great video. Adam's has an awesome library of videos throughout their website and on youtube. Check those out! And you're done! now to enjoy the benefits of the coating. Your gloss will be awesome! and future washes will be easier. Just use Car shampoo and dry and all the dirt will just come flying off. Also make sure to peek the window if you ever leave your vehicle in the rain. Water will just slide off. It's likely you will use your windshield wipers less, if you coat the windshield. I rarely use my windshield wipers, I love watching the water go up up and away. In future washes just follow a normal procedure, and you can use CB about once every month or so to boost the coating after you wash your car. About every or every other wash I love to use Ceramic Waterless Wash as a detail spray and drying aid. It's an amazing product. Also there are some other shampoos like the Wash+Coat and Wash and Wax which contain SiO2 and can also add a small boost to the coating. So just find a process that works for you. There's a big initial investment of time and money especially if you're just starting off, but I found that really enjoy my time detailing my vehicle and others' vehicles. It's therapeutic and Adam's products really enhance the process for me. And once you get those tools and towels, those will last you a while with proper care, so the majority of things you'll need in the future are refills or the occasional new chemical you want to try. Speaking of care... After I finish using a towel, I immediately throw it in a bucket full of water and I'll try to have some APC in the bucket or some detergent if handy. If not, car shampoo will do. But reason for that is to start breaking down whatever the towel may have picked up. If a towel is especially dirty like when I rinseless wash or waterless wash, my towels get real dirty. I put them in a bucket of water and once I'm ready (normally just later in the day, I don't like to leave towels for more than a day) I will spray the dirty towels down with APC and Rinse them with High pressure, whether I have my pressure washer out or I can just use my outdoor spigot, which has a good bit of pressure out of the wall. I let that loosen the dirt, then I take them to the Washing Machine. Also, if I use any SiO2 product, I immediately put those in a bucket of water because even if a product has a low level of SiO2 like the Wash+Coat, Wash and Wax, Ceramic Waterless Wash, and Ceramic Boost, that SiO2 can dry if you give it enough time. So I put those in water and wash those towels as soon as I possibly can. I wash them in Cold Cold water, Adam's has their own detergent which is GREAT. Microfiber Revitalizer. And I add an extra rinse cycle. I dry like in the dryer using Low Heat or No Heat. I never ever mix my microfibers with cotton or really anything else, I normally have enough to wash a small load after a wash. Here's a thread for Microfiber Care: Below is an image of my paint after my maintenance wash yesterday. I just used CS to clean the wheels and the paint. I used TRC for the tires, and used Ceramic Waterless Wash as my drying aid with my Jumbo Plush Drying Towel (and went back over the whole car lightly with a double soft until it was shiny). Here you can see the gloss from the coating is still there, even months after I coated, and I haven't used Ceramic Boost in like 6 weeks or so: Then it obviously rained after I washed my vehicle because you know how this works, but I woke up to these nice beads: I will update this later today with some links and pictures and stuff. I hope this helps. Updated: I included links, pictures and videos. That's alot... Sorry.


-
Welcome! Great Job!
-
New Site, Take a Look and Save!
Yo-Yo Ma's Cousin replied to Team Adam's's topic in Company Info/Announcements
I originally looked at the site on my phone, and I think it adjusts well to mobile. It also adjusted pretty well when I played with the size of the browser window on my computer. I like how the product info is displayed when you scroll down on any product. It's easy to read, and the video clips for most of the products make it that much easier and quicker for us to understand briefly how we would use them. Reviews for products are easily accessible. I love that I can change the size of the product from 16 oz to 5 gallon and stay on the same page. Overall, I think it's great! I saw a few typos or inconsistencies, which are so minor that I doubt anybody would care, but just in case see the images below. @Junior mentioned one above.

-
I will do that. I’ll do that as soon as I get to my computer. and I agree with Chris about the microfiber applicator. It’s just a bigger applicator, therefore shortening the time required to apply
-
I would absolutely use the strip wash also. It will help to get your paint as naked as possible. i can give you a full write up about the products I used and my Process. Are you in a hurry to place an order?
-
Yes, that’s probably the best way to go, but I would probably not use those towels for the actual ceramic coating application or leveling. Now this is because since the ceramic will dry into whatever towel you use to apply/level it. The dried ceramic in the towe can cause scratches in the future. So I normally use some cheaper towels and save the Adams single or double soft towels to use for different tasks. Because Adams towels are really nice and really premium, so I would hate for them to no longer be usable after the first use. - all this being said, The towels in the kit would work very well. I just try to save a few dollars and really like Adams towels. but Adams sells some suede removal towels that are a bit cheaper and I have less heartache throwing those away when I’m done with them. yes I have ceramic boost, and it’s meant to be used about once every 4-6 weeks.
-
Hi Matt! Welcome to the Forums! I ceramic coated my vehicle and have not regretted it one but. It was worth all the time and effort! people on the forums will be happy to help and share their experiences! Feel free to ask any more questions!