

Norton
-
Posts
792 -
Joined
-
Last visited
-
Days Won
29
Content Type
Profiles
Forums
Gallery
Blogs
Downloads
Events
Posts posted by Norton
-
-
The Caring for Factory Vinyl Stripes thread and How to treat factory vinyl stripes video contain a wealth of info about restoring/caring for vinyl stripes.
I usually avoid clay and compound on vinyl, since those are somewhat aggressive and can make a bad situation worse. Before I ceramic coated my Shelby, including its matte black vinyl stripes, I had good results lightly polishing imperfections in its vinyl stripes, with White Foam Pads and Finishing Polish and/or Brilliant Glaze. Revive Hand Polish on a Blue Hex Grip Applicator might also do the trick.
-
On 8/22/2019 at 2:50 PM, brihvac said:
I have a question. I had my 2019 Dodge Challenger professionally ceramic coated with Gtechniq 5yr coating with EXO top coating. I want to keep the shine and hydrophobic properties. They have something similar to Ceramic Boost called c2v3 spray. My question is can I use Adam's Ceramic Boost in place of their c2vs? I do not want to hurt, or dull the ceramic coating that's on there. So I want to make sure that Adam's Ceramic Boost is NOT going to have a negative effect on the Gtechniq coating.
Yes - Ceramic Boost plays nicely with Gtechniq coatings and works well in lieu of (or in conjunction with) C2v3. Having used both products, I can tell you C2v3 is a little easier to wipe/buff off. I'm not a chemist, but I THINK the (little bit of) extra effort Ceramic Boost requires to wipe/buff off is due to a higher SiO2 content.
BTW, the Exterior Protection & Enhancement forum is probably better-suited to this question.
-
It's very easy to do serious damage to paint with rotary polishers, whereas, it takes effort to damage paint with an orbital. Unless you're an expert with (rotary) polishers, I strongly recommend you return the rotary in favor of an orbital, like the ones available from Adam's.
-
On 8/5/2019 at 1:18 PM, pilatti1 said:
I was told you can use VRT on plastic rear windows. I have a 1965 Mustang Convertible & want the plastic rear window to look like new. It is about 10 years old and has some scratches etc. Will VRT work or what else can I use?
IMO, the answer depends on your goal (e.g., appearance, UV protection, etc). Brilliant Glaze and/or VRT can be used, though VRT might require some "leveling" to ensure it doesn't affect the window's clarity. Based on my recollection of the platic window in my father's convertible when I was a kid, I'd want something that provides UV protection, which VRT does. With that in mind, I'd treat it with VRT and "level" as required with Detail Spray or Matte Detailer. It's only water resistant (not waterproof) so, unless you apply it repeatedly between washes, it shouldn't build up.
-
-
Since you're dealing with vinyl, you many find the Caring for Factory Vinyl Stripes thread and How to treat factory vinyl stripes video informative/useful.
Before I ceramic coated my Shelby, including its matte black vinyl stripes, I used a combination of Adam's VRT and Matte Detailer. The former deepened the stripes' black color, while the latter helped "level" and knock-down the shine.
-
-
We had a great turnout for today's Detail Clinic! It was good to see enthusiasts from several different clubs/forums including the Colorado Shelby Club (CSC), Looking Glass Corvette Association (LGCA), Colorado Dodge Challengers Club (CDCC), Chevy SS Forum, Tacoma World (TW), Rocky Mountain Region Shelby American Automobile Club (SAAC) Colorado, and an Adam's enthusiast from Los Angeles who drove 17 hours to attend!
Hosted by my good friend Adam and his professional detailing team, the day started with a tour of the HQ facility and operations, followed by the Clinic itself. Everyone seemed to enjoy themselves, learned at least a little, and took advantage of generous discounts offered to attendees.
One of CSC's newest member's 2011 GT500 was chosen to be detailed during the demonstration. It left looking better than when it arrived and the owner took home a load of Adam's products, in appreciation for letting them use his car!


- Thorsager, Captain Slow, falcaineer and 1 other
-
 4
4
-
LOOKING FORWARD TO SEEING EVERYONE TOMORROW MORNING!
-
Today is the last day to RSVP for next week's Detail Clinic. (To those who've already done so - thank you!) If you haven't already done so, PLEASE make plans to attend. These FREE events are an informative and fun way to meet other enthusiasts. The weather forecast looks much better than this weekend - mostly SUNNY, NO precipitation, and temps in the UPPER-60s. Please come out and enjoy!
-
Only TWO WEEKS until the Spring Detail Clinic at HQ...
ALL years, makes, and models are welcome! Get your rides ready for the upcoming car season.
Clinics usually last a couple of hours, but everyone is welcome to come when they can and free to leave when they must.
Unless you decide to buy something, attendance is FREE - just show up, socialize, and learn!
PLEASE RSVP NLT 30 MAR SO ADAM'S CAN STAFF APPROPRIATELY. Thanks!
-
Just over a month until the Spring Detail Clinic at Adam's HQ...
ALL years, makes, and models are welcome! Get your rides ready for the upcoming car season.
Clinics usually last a couple of hours, but everyone is welcome to come when they can and free to leave when they must.
-
The Colorado Shelby Club partnered with Adam and his team to organize a Spring Detail Clinic at HQ (8225 North Valley Hwy, Denver, CO 80221-4810) on Saturday, 6 Apr, following Lafayette Cars & Coffee (around 9:30AM).
All years, makes, and models are welcome! Get your rides ready for the upcoming car season!
Please RSVP here if you plan to attend, so Adam's can staff appropriately.

-
All PMs replied.
-
Stored in my cool, dark basement since they arrived, I've somehow amassed extra gallons of H2O Guard & Gloss and Detail Spray (one of each). Pics available on request.
About the only things I need are Car Shampoo and Tire Armor, but I could probably use a Grit Guard Wash Board and Black Trim Restorer.
I'm willing to consider other items, but I'm NOT looking for Polish, Buttery, Americana, Patriot, Paint Sealant, Glass Cleaner, Waterless, Rinseless, Ceramic Boost, VRT, Clay, or Coatings.
-
On 11/17/2018 at 11:33 PM, DF24 said:
This looks amazing, I might have to try that some time. I just recently received my Adam’s liquid paint sealant. Still waiting to get a decent day off with decent weather here in Chicago to apply it and try it for the first time. Not sure what to expect from it. I’m hoping I love it.
What are your thoughts on the paint sealant from a durability and performance stand point and just overall how you like it
thNks in advance
Thanks!
I've used PS for years, and I'm happy with it. It provides a good shine and excellent durability (several months, depending on driving habits, weather, care, etc). FWIW, I usually apply it twice-a-year - in the spring and fall. For best results, wash, clay, and polish the paint before applying it. You can help it last longer with good wash habits (2-buckets, pH-balanced shampoo, etc) and the use of complementary products like HGG.
As I said, this was my first time using CPW. It shines as well (or better) than PS, and provides great beading action - also as good (or better) than PS. For me, the jury is still out on it durability compared to PS.
The bottom line is that I think you'll be happy with PS. Make the time to apply it before winter is upon you!
-
I prepped my Tacoma for winter last weekend. Thanks to my friend, @falcaineer, I got to choose between my normal PS and his recently acquired CPW. I decided to try CPW for a change.
It went on and came off as quickly and easily as PS, which was nice. (Thanks, again, to @falcaineer for his help in applying it!) It shines as well (or better) than PS does. (Silver is a difficult color on which to judge!) It provided great beading action in today's precipitation. I look forward to learning how its durability compares, but I suspect having some Ceramic Boost on-hand won't hurt...


- DF24, Nickfire20, mc2hill and 4 others
-
7
-
On 3/13/2018 at 1:28 PM, Kyle@Adams said:
Clearing up some confusion regarding this topic. When we talk Silica and SiO2, we think of immediate curing and hydrophobic intensity. Wash and Wax does contain a small amount of silica in it (why it plays well with coatings) but don't think of it as a soap packed full with ceramic properties. The silica is a small polymer-like addition that helps with beading over repeated washes.
So in conclusion: YES, Wash & Wax does contain silica. Keep your eyes peeled for a much more robust soap that may or may not contain an increased amount of SiO2
")
Apologies for the thread revival, but has there been any update on the "much more robust soap that may or may not contain an increased amount of SiO2"?
-
Thanks to EVERYONE who attended this morning's Detail Clinic at Adams Polishes! Thanks to our friend, Adam, for hosting the Clinic, sharing his knowledge, and offering great discounts for attendees! Here are some of the great rides and expert tutelage from the event...


- mc2hill, Nickfire20, falcaineer and 1 other
-
4
-
On 5/2/2018 at 11:27 AM, funkymonkey1111 said:
who is "we?"
Those of us who worked with Adam to organize the event did so on behalf of the Shelby Breakfast Club and Colorado Car Addicts.
We look forward to any shine enthusiasts in the area joining us, along with members of area Cobra, Corvette, and Challenger Clubs, to learn more about how Adam's can help perfect our cars' finish.
-
Bumping as a reminder about this weekend's Detail Clinic, focused on Paint Correction and Ceramic Coating, at Adam's HQ. We're tracking RSVPs spanning area Shelby, Cobra, Corvette, and Challenger Clubs. Assuming the weather cooperates, should be a good turnout.
Join us to learn how Adam's can help you perfect your finish!
-
20 hours ago, Liralen said:
Isn't the new HQ in Thornton, CO?
11 hours ago, falcaineer said:It is, but Thornton is a Denver suburb. Another quick fact...it's also in Adams County!
Thank you, both! Liralen is correct - Thornton is the listed address on Adam's site. Ironically, however, Google insists it's in Denver. (See atchd screenshot.)
This discussion did, however, remind me that Google doesn't do well with abbreviating North. (Note the map marker in the middle of the Interstate.) To get accurate directions, you can use Thornton or Denver as the city, but you need to spell out North...

-
For anyone who missed the new HQ Grand Opening last week, we're working with Adam on a follow-up event (focused on Paint Correction and Ceramic Coating). The plan is to meet at the new HQ (8225 North Valley Hwy, Denver, CO 80221-4810) at 9:30AM on Saturday 5 May, following Lafayette Cars & Coffee. Please RSVP here if you plan to attend, so Adam can staff appropriately.
Photographic credit to falcaineer.


- falcaineer and Rich
-
2
-
According to the "BOILING YOUR TOWELS" section FAQ: "How do I take care of my microfiber towels?"...
Over time your microfiber may become contaminated past the point it can be completely cleaned using traditional methods. Typically this will present itself during use - drying towels will begin to feel less absorbent. Plush towels may lint slightly or smear products more than remove them. This is an indication that the fibers are 'full' either from residues deposited during use or things like fabric softener accidentally introduced during cleaning.
In any event, if your towels begin to loose their performance or just don't feel as good as they did new boiling is the solution, the last resort, to bring them back. NOTE: this process applies only to towels and microfiber without foam cores or backing. Never boil pads or applicators.
- Fill a large cooking pot approximately 2/3rd full of water and bring to a boil
- Add approximately 1-2oz of distilled white vinegar per gallon of water and stir
- Place a few of the towels to be treated into the pot, maintaining a slow boil
- Stir continuously with a large spoon, avoid letting the towels rest against the bottom or sides for too long
- After about 60-90 seconds in the boil, remove the towels using tongs and rinse under cool water
- Wash using the "Regular Cleaning" guidelines outlined earlier and they should be as good as new.
NOTE: Should boiling fail to bring absorbancy to a towel or the towel continues to lint then you are most likely dealing with a towel at the end of its lifespan. Retire the towel to less important tasks and replace with a new one for future use.FWIW, it's worked as advertised when I've boiled mine. I usually wash in hot water, but my water heater is set to ~125-130 degrees.
- Nickfire20 and falcaineer
-
1
-
 1
1


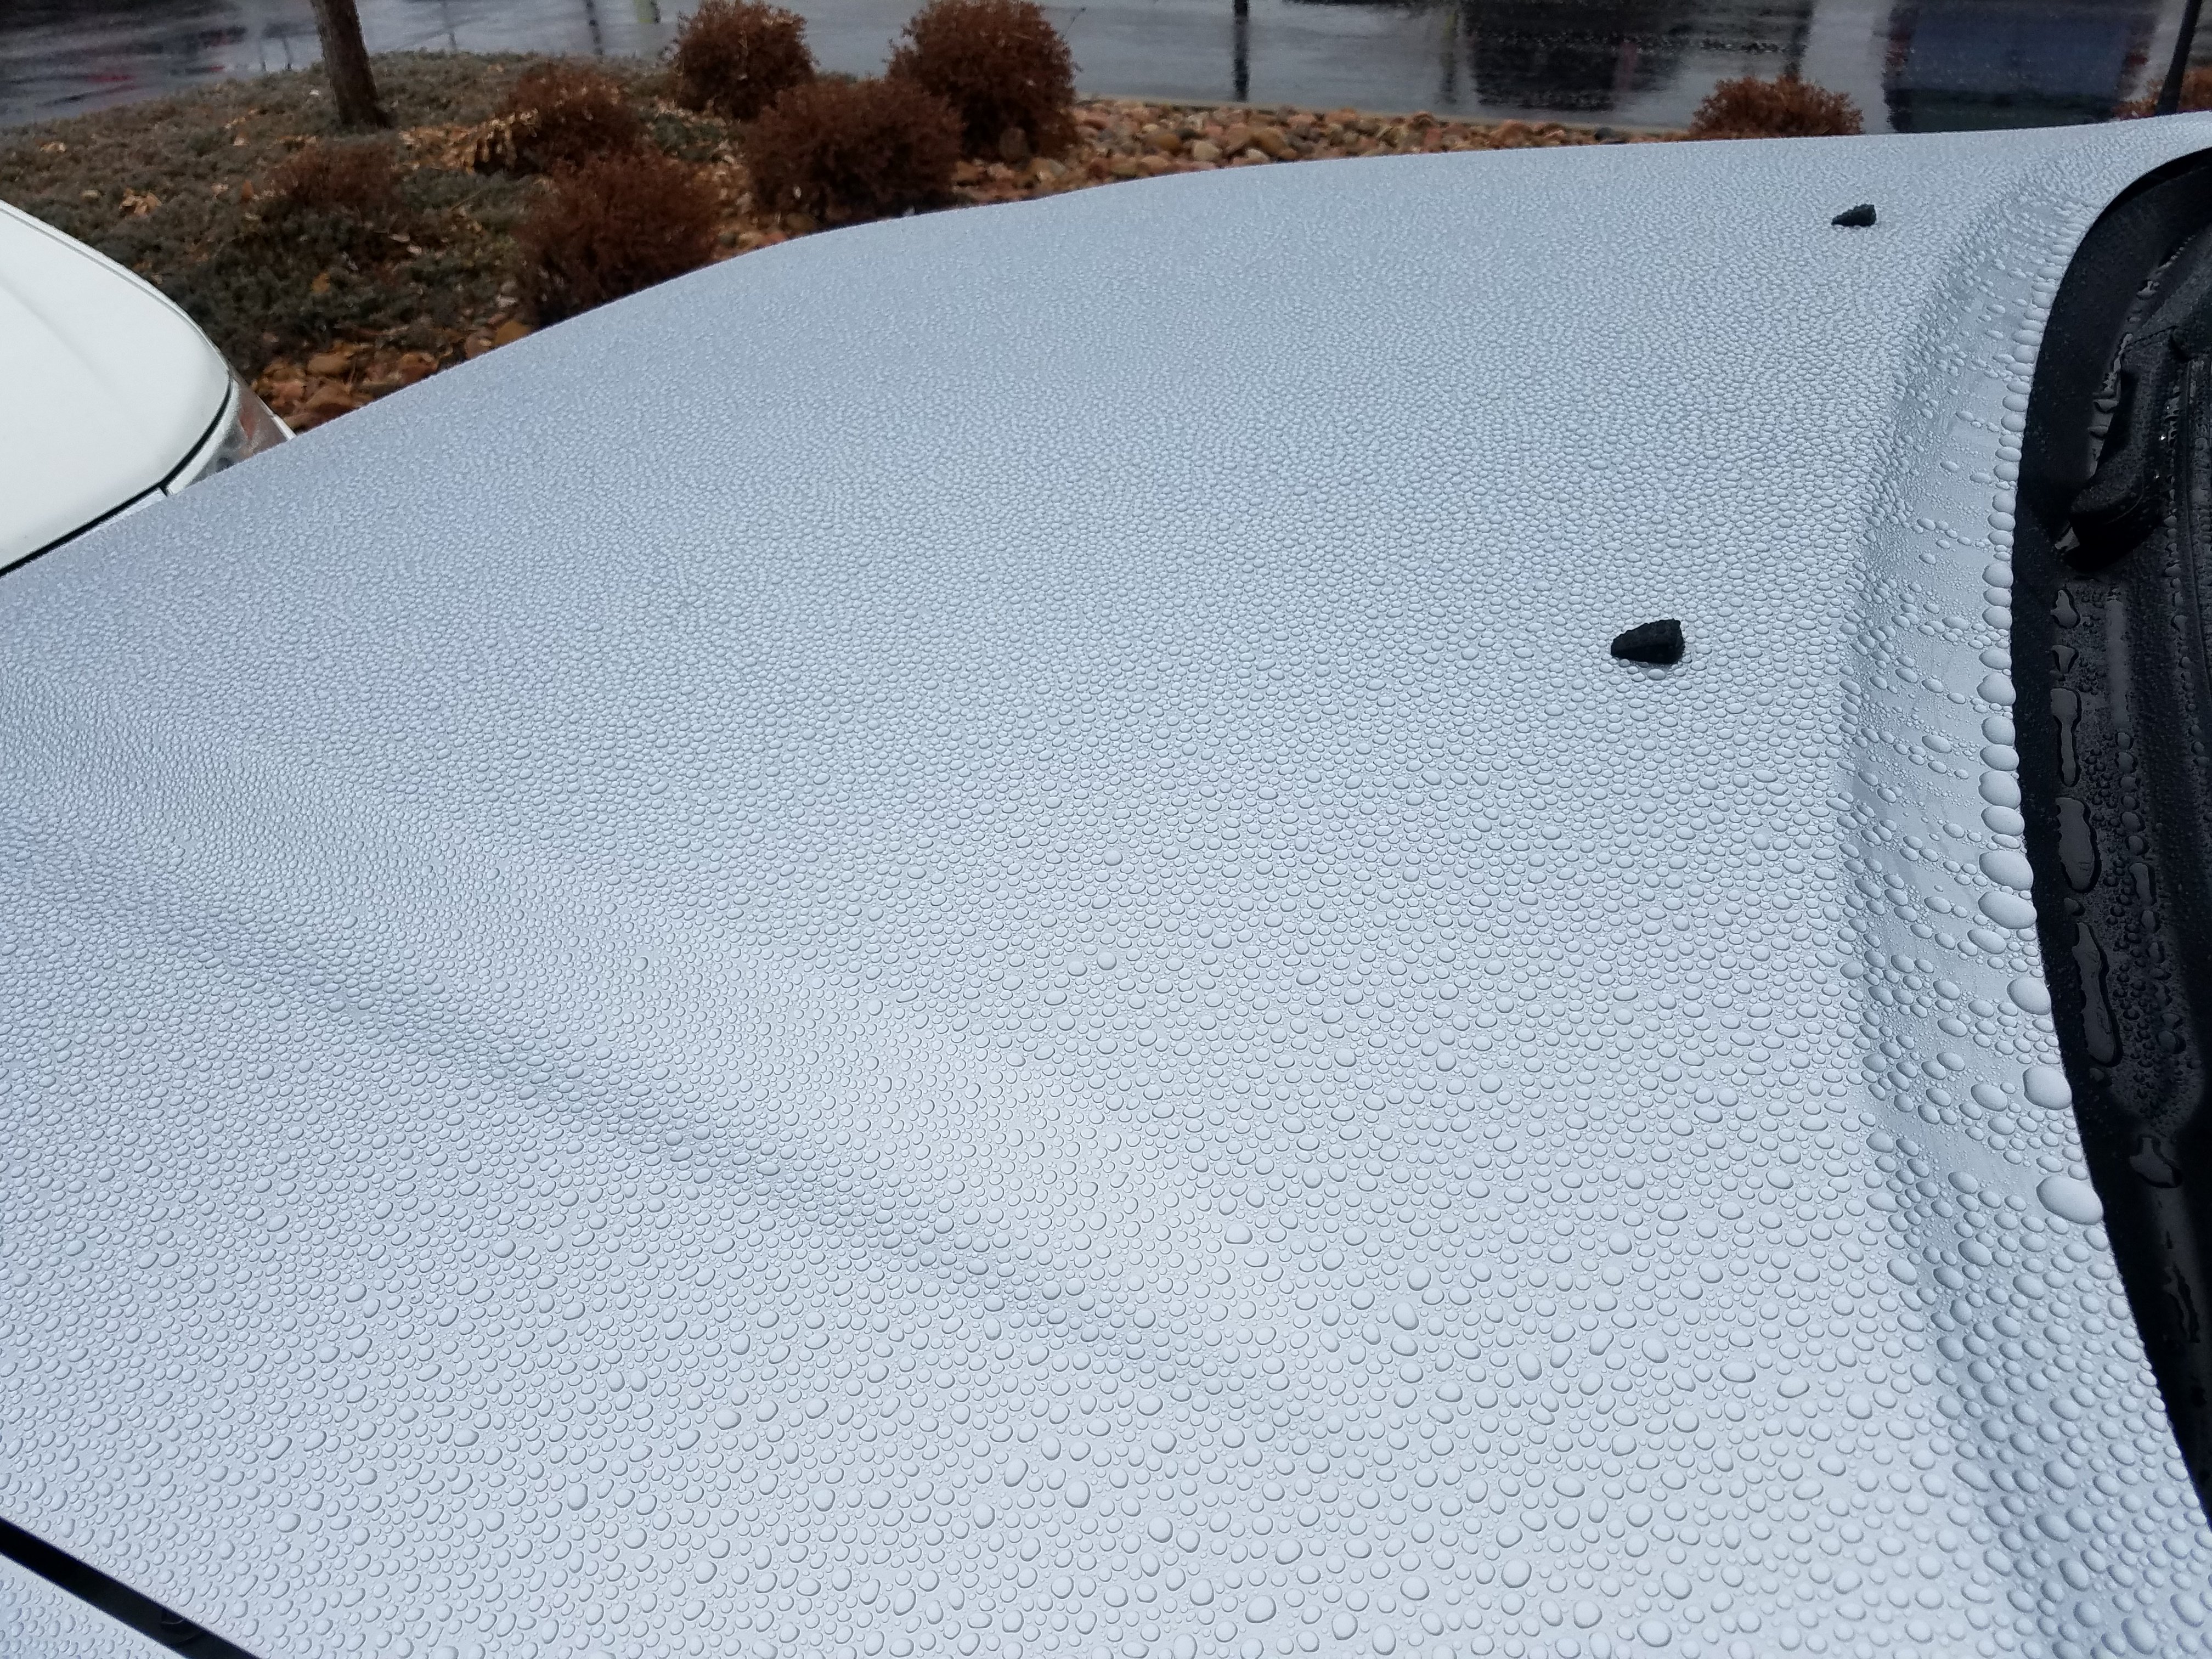


Water spots in vinyl stripes
in Paint Correction & Polishing
Posted
To be fair, I'd say this is less of a rule and more of YMMV thing...
Clay and compound come in differing levels of aggressiveness/abrasiveness, and I know some CAN mar painted finishes (e.g., the Clay Mitt can cause minor swirls/marring - easily polished out of painted surfaces, but probably not as easy to eliminate from vinyl). I didn't want to risk marring the stripes at all, so I avoided claying them. I don't think I know anyone who's compounded their stripes, but I have a couple of acquaintances who claim to have successfully clayed theirs. My guess is they used something like Visco Clay that's "safe for even the most delicate clear coat." In the end, you should always use the least aggressive method that achieves the result you want. In my experience, Dylan's advice in the How to treat factory vinyl stripes video was spot-on.